Shift Rotation App
Shift Rotation is a scheduling and calendar app designed specifically with shift workers in mind; everything from the user interface to it’s functionality is focused on taking your current shift rotation and transforming it into a beautifully designed, simple and user-friendly app. Never again will you have to guess if you are working on a particular day of the year.
SUPPORT
To create your rotation
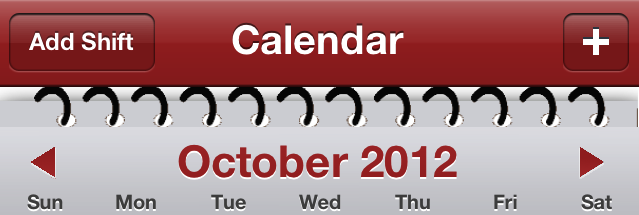
- Touch the “plus” sign at the top right corner of the “Calendar” screen.
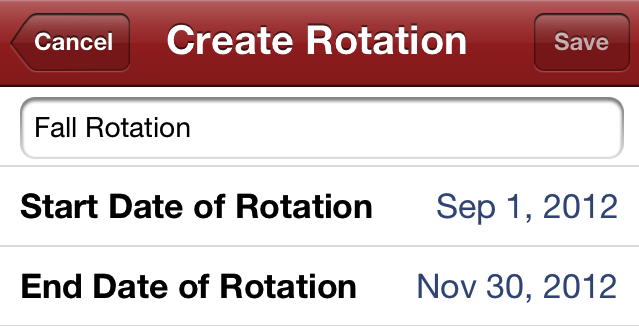
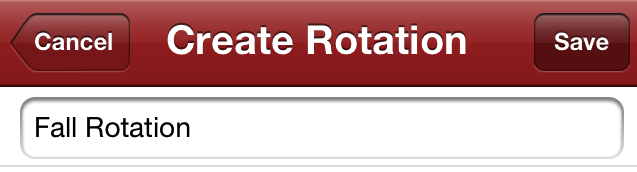
- At the “Create Rotation” screen enter:
- The name for your rotation
- The Start date of the rotation
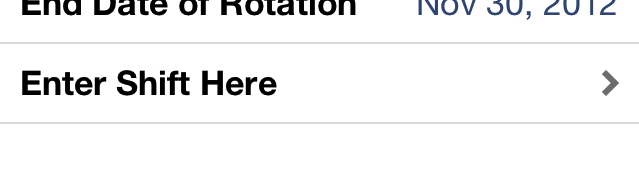
- The End date of the rotation.
- Touch the “Enter Shift” line on your screen to enter more information on your shift.
- At the “Enter Shift” screen enter:
- Touch the “Sun” symbol to change the icon for your shift.
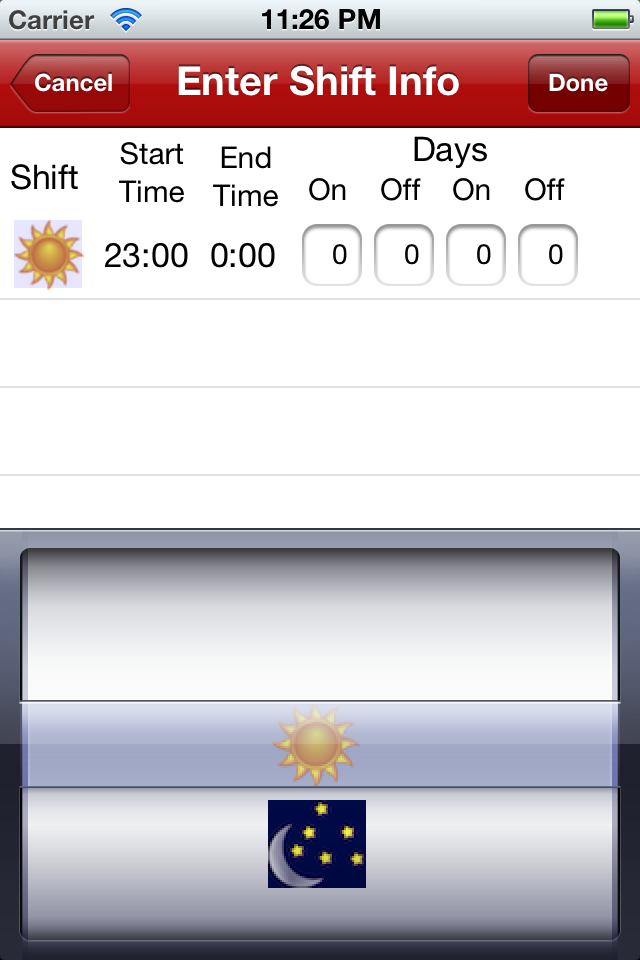
- Enter the appropriate Start and End time for your shift.
- Enter the number of Days On and Days Off. Touch the “Plus” sign for more entries.

- When finished click “Done” to return to the “Create Rotation” screen.
- Touch the “Sun” symbol to change the icon for your shift.
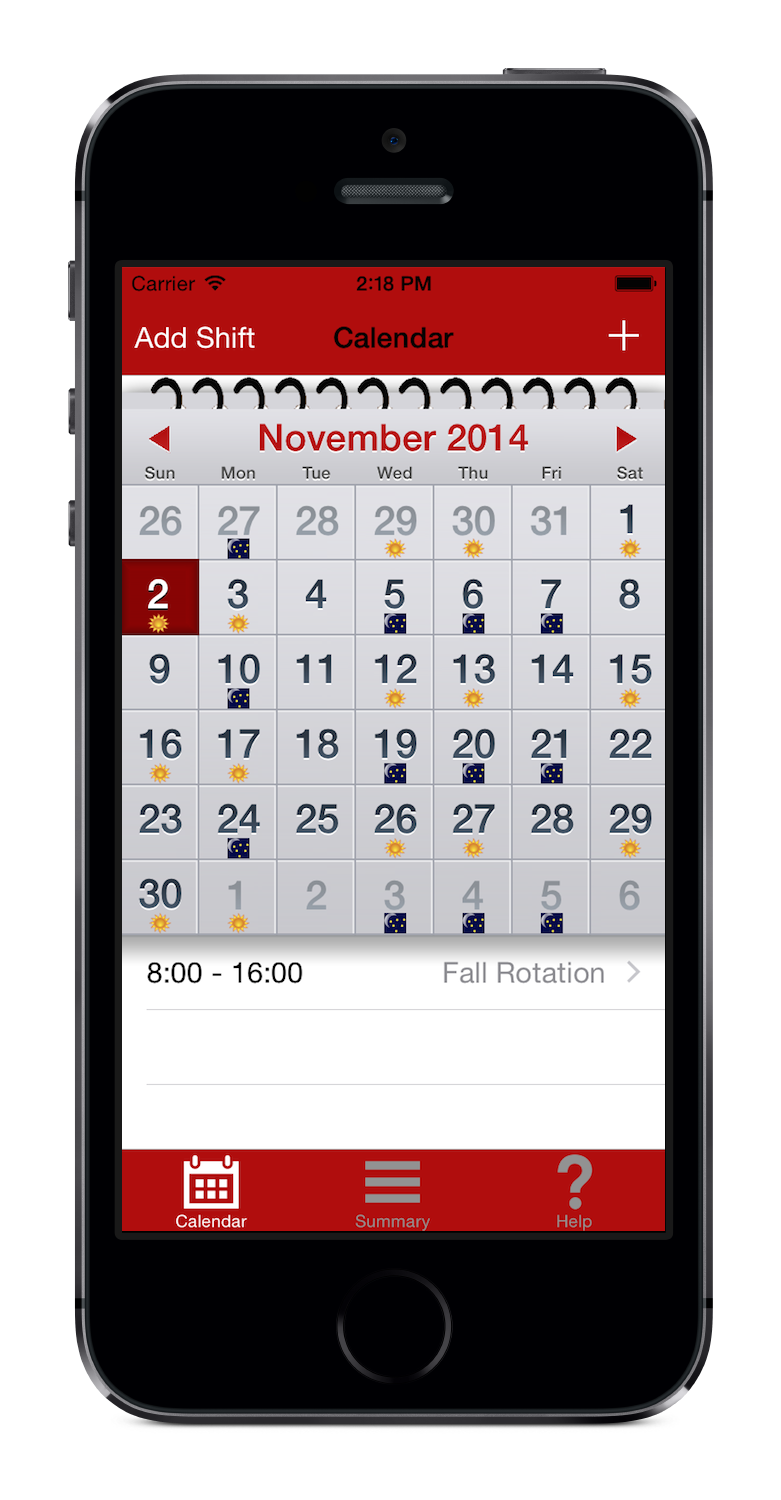
- Click “Save” at the “Create Rotation” screen to generate and save the entered rotation.
- Saving takes you back to the “Calendar” screen, allowing you to view your shift schedule.
Modify an existing rotation
- Select the “Summary” tab of the main screen.
- Select a rotation to modify.
- Follow the instructions above for creating a rotation to edit an existing rotation.
- Warning: Modifying and saving an existing rotation will cause all previous shifts associated with that rotation to be deleted and a new set of shifts to be created.
- Select the date on the “Calendar” screen and touch the “Add Shift” button at the top left corner of the “Calendar” screen.
- Enter information for extra shift.